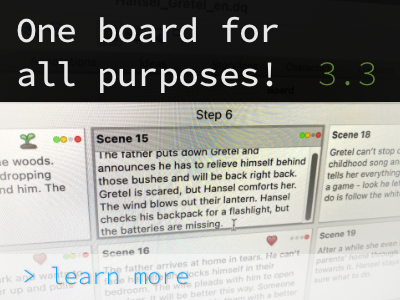
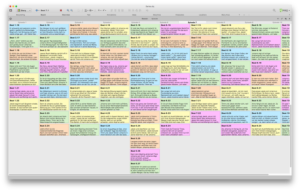
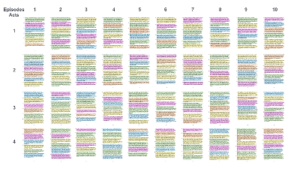
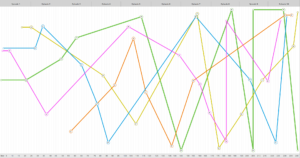
The new Board panel presents itself as a bridge between plotting and writing: We have turned the Board into a Swiss army knife from which you can pull out a wide variety of functions: an all-purpose weapon in the story development process with cards that can be short & catchy just as well as long & detailed, that can display icons, storylines, summaries or the entire texts, and that can arrange themselves in a flexible grid or line display.
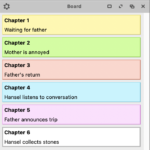 In the Board, the possibilities and advantages of the Overview and Text panel are now combined, which allows a seamless transition between the individual development stages of the story.
This way, the Board can “grow” bit by bit, also in the size of the cards: In the beginning, you might only write one-line keywords, and the further you develop the individual scenes, the more extensive and detailed the content and information on the cards will become.
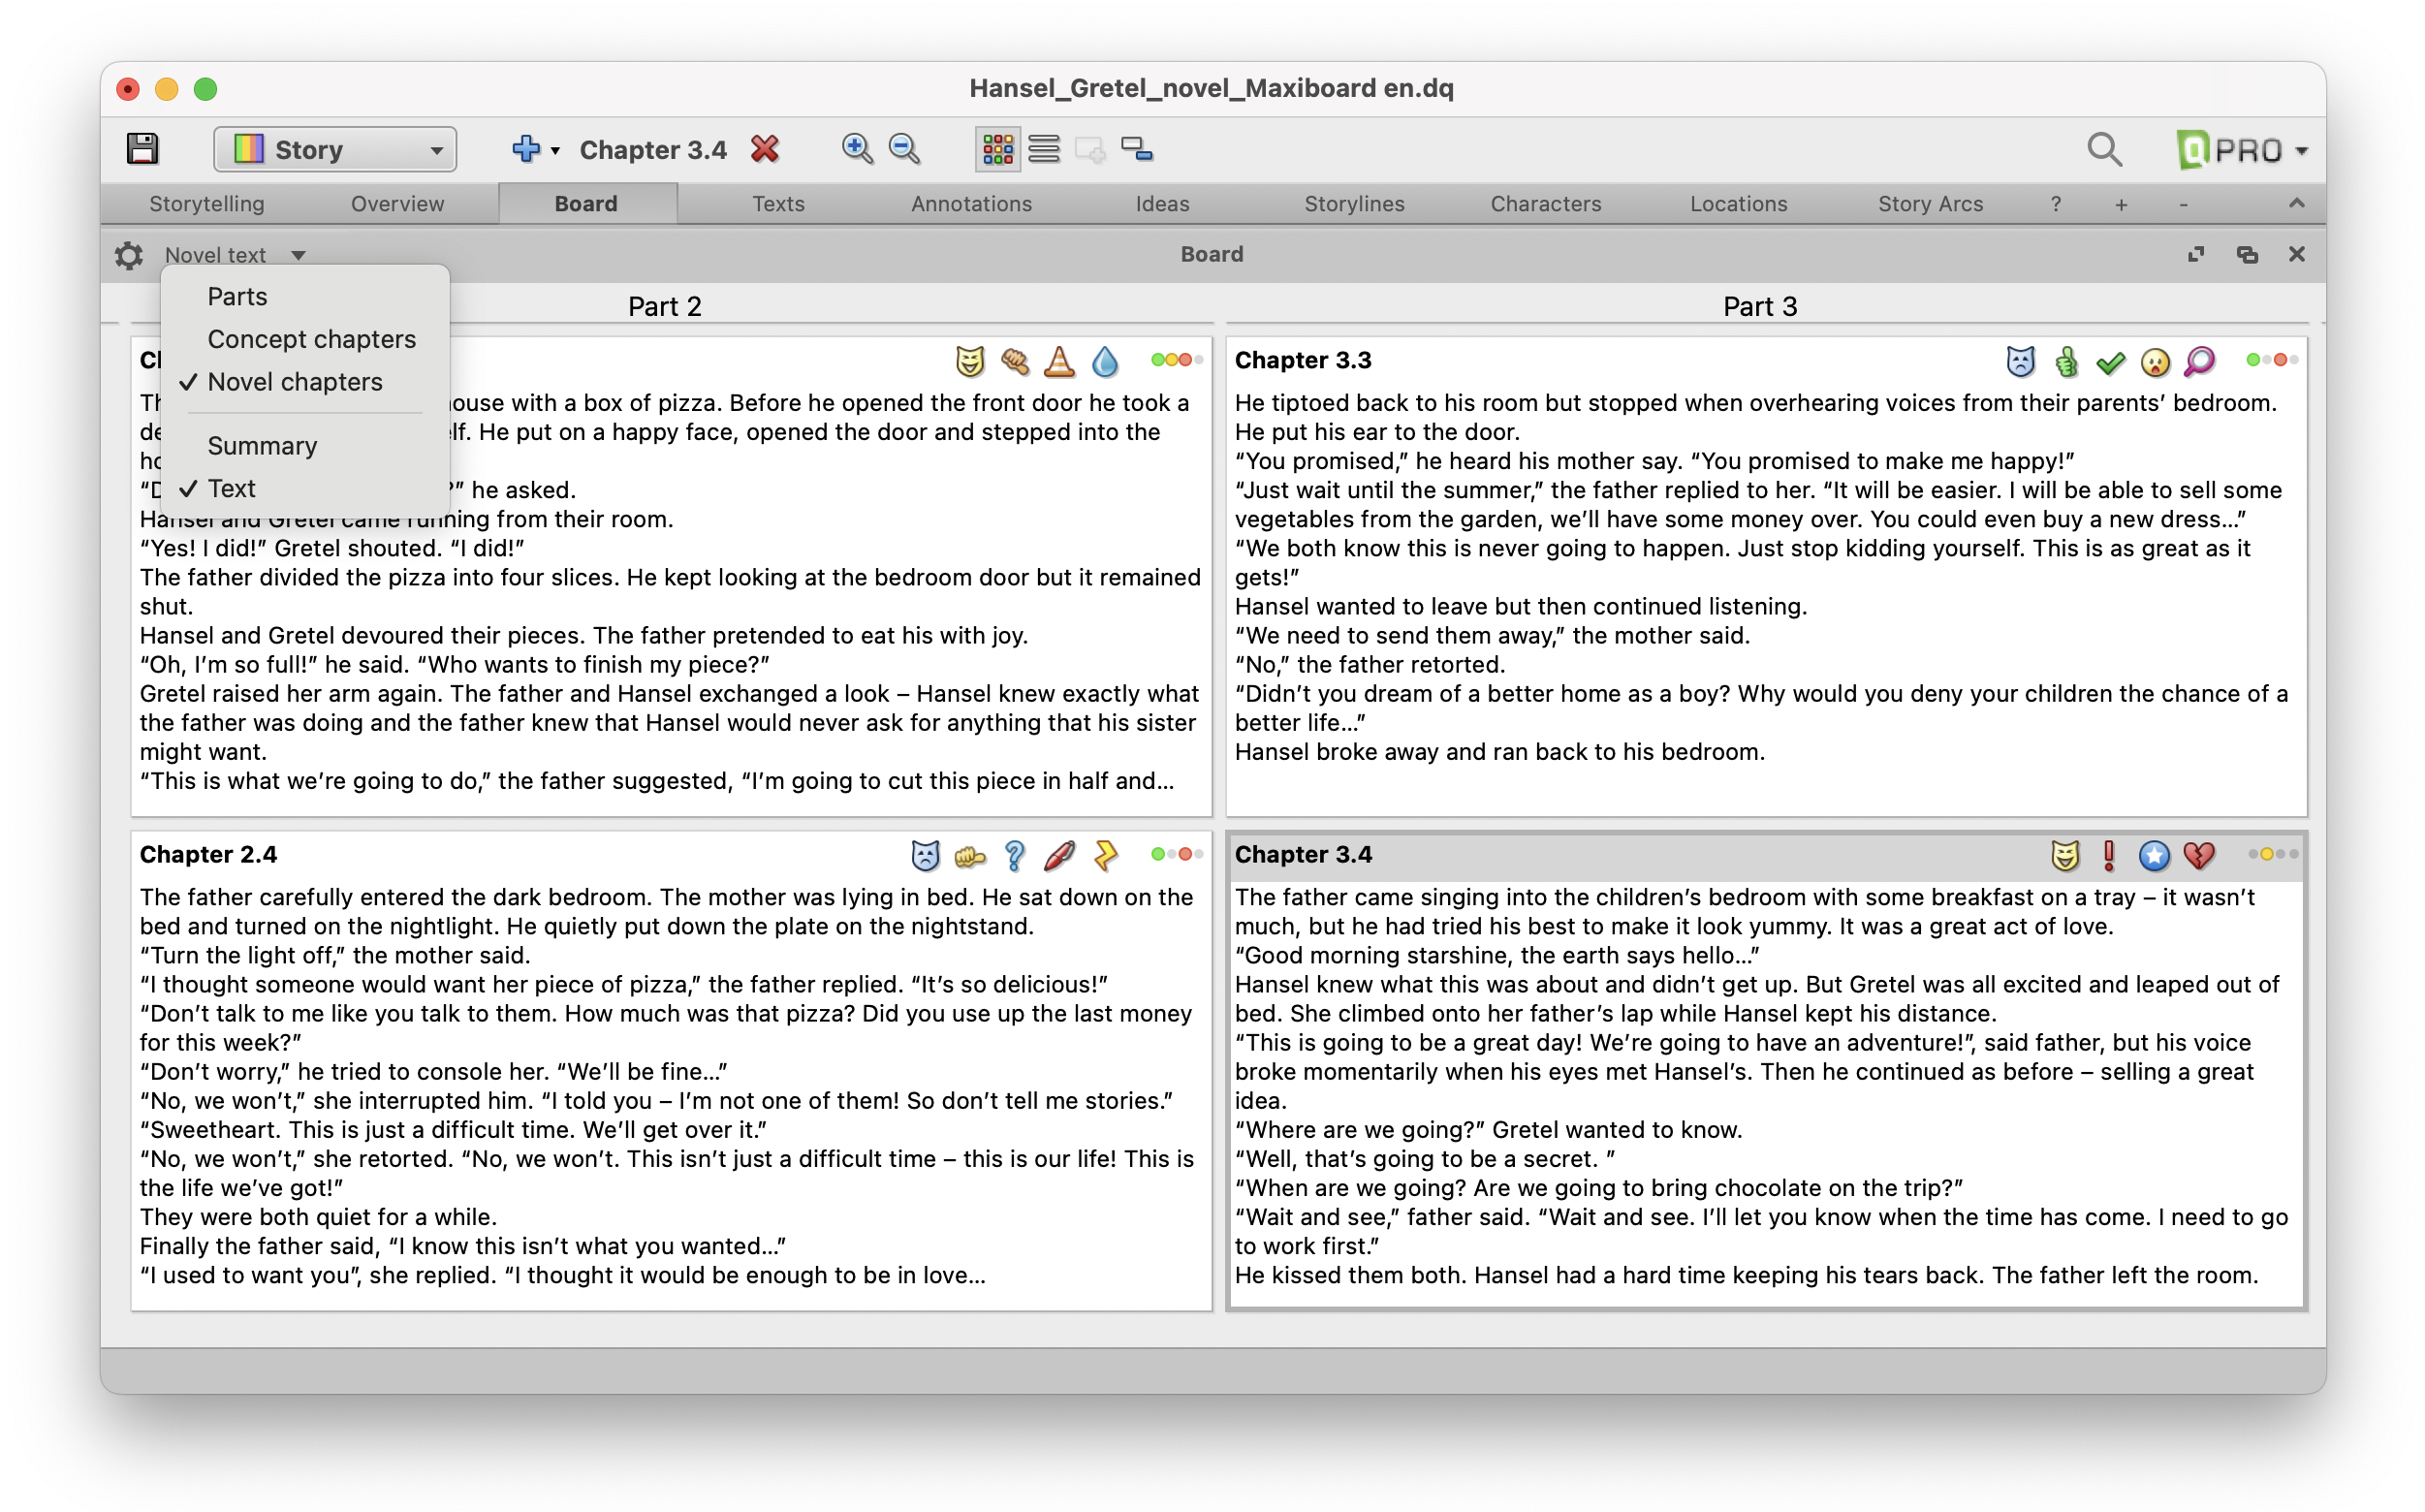
Here’s a tip: If you set the Board to ‘Text’, the texts you enter in the Board cards will be transferred directly into the plot or treatment text. :) This means that if the option ‘Card contents: Text’ is selected, the contents of the Board and the Text panel are mirrored, and if you edit the texts, the changes are applied to the other panel in each case.
If, on the other hand, you set ‘Summary’, the contents of the Board and the Overview panel are mirrored, or all changes are applied reciprocally.
The new features and improvements in detail:
- In addition to the grid arrangement, the cards in the Board can now also be displayed in line mode. The number of lines per card is freely selectable (gear menu option ‘Lines of text per card’).
- Also new is the possibility to display and edit the actual text (and not only the summaries) in the cards (gear menu option ‘Card contents’ -> ‘Text’). Accordingly, more card sizes are now offered with a larger maximum size.
- The Board panel has a new context menu with comprehensive options (right mouse button click on card). Some options also allow multiple selection, so you can delete, move into archive, cut, copy and paste all selected elements at once.
- The cards can now also show the tags as well as the assignment of the steps or scenes to several storylines. (Previously, only the complete coloring of the cards in the color of one storyline was possible.) The storylines are displayed as color circles at the top right of each card, the tags to the left.
- The Board can now be configured separately from the Overview panel (via its own gear menu). This affects the options ‘Numbering’, ‘Card contents’, ‘Summaries’ and ‘Tags’ (including submenus).
- It is now possible to work with multiple Board panels that are configured differently. For example, two boards can be set up side by side, displaying different levels and/or card contents.
- In the Texts panel, the keyboard shortcuts Alt+↑ and Alt+↓ can be used to jump to the previous or next elements.
- If one customizes the structure, now also the colorings are also taken over.
- In the ‘Story Arc’ section of the Storylines panel, the drop-down options of the turning-points are now more clearly named: ‘Turn to the positive / negative’ (instead of just ‘Positive’ or ‘Negative’). In addition, the description fields now visually subordinate themselves better to the turning-points to which they refer.
IMPORTANT INFORMATION FOR ALL WINDOWS-USERS: DELETE OLD DRAMAQUEEN INSTALLATION
DramaQueen is now a 64-bit program. The previous version is therefore not getting automatically overwritten (like in all earlier updates). To prevent the old version from opening, please proceed as follows:
– In Windows Explorer, click on the “C:” drive, look in “Programs (x86)” and find the “DramaQueen” folder. (Check for safety that there are no project files (filename.dq) of yours in there).
– Now delete the whole “DramaQueen” folder. Done :)
(In case you had a link to DramaQueen (e.g. on the desktop or the taskbar), you have to re-create it. You can start DramaQueen from the “Program Files” folder and chose the “Pin to taskbar” option from the right-click menu.)

